How to Edit: Status, Planned Dates
How to Edit Status and Planned Dates in the Status Chain
- Go to the order editing page.
Note: The order editing page is available to users with the access role: OMS Admin.
- In the order status chain, the user can perform the following actions:
- change the order to a new status: to do this, click on the desired status in the order status chain.
Each status has its own type. For more information about existing status types, see the Status Configuration section. Status types allow you to set transition rules in the status chain and establish rules for working with the order. For example, in the status chain, it is not possible to transition from a status with the type "in process" to a status with the type "draft," and the order composition can be edited when the order is in a status with the type "draft."
- edit the planned date of the status: to do this, hover over the desired status and click . To reset the current planned date, click Clear. To edit the current date or set a new one, click on the date selection field, then set the date. To save changes, click Save, to cancel — Cancel.
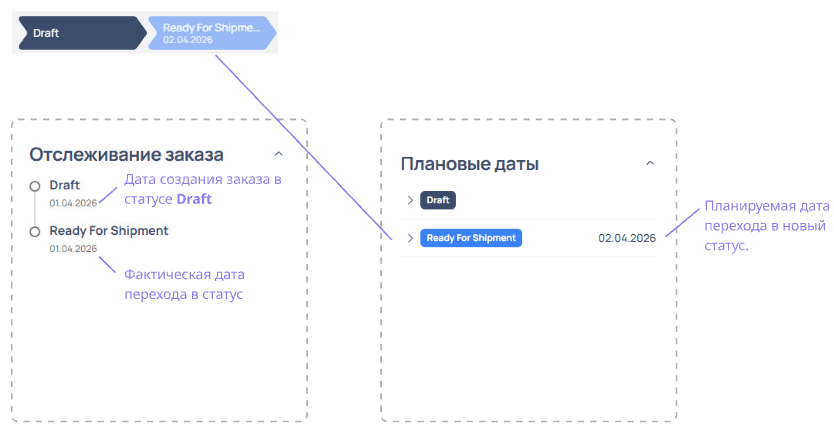
Upon successfully changing the order to a new status, a message Status updated will appear in the portal workspace, and if an unauthorized status is attempted to be set, an error message will be displayed. Upon successfully editing the planned date of the status, the new date will be displayed on the corresponding status in the order status chain.
Note: Detailed information about order statuses can be viewed in the order section Order Tracking, and information about planned dates in the section Planned Dates.
How to Edit Planned Dates of an Order
- Go to the order editing page.
Note: The order editing page is available to users with the access role: OMS Admin.
- Navigate to the order section Planned Dates.
- To update the planned date of the status:
- Next to the selected order status, click Edit.
- In the window Edit Planned Date for Status "Status Name":
- Click on the input field and select a new date.
- To save changes, click Save, to cancel Cancel. To clear the selected date, click Clear.
- To view the history of changes to the planned dates of the status:
- Click on the selected status and view the history of planned date changes.
- To view the user who changed the planned date, click on next to the selected date.
Upon successfully editing the planned dates of the statuses, the user will be able to set and save a set of planned dates for each of the statuses, view the history of planned dates, and the user who changed the corresponding dates.